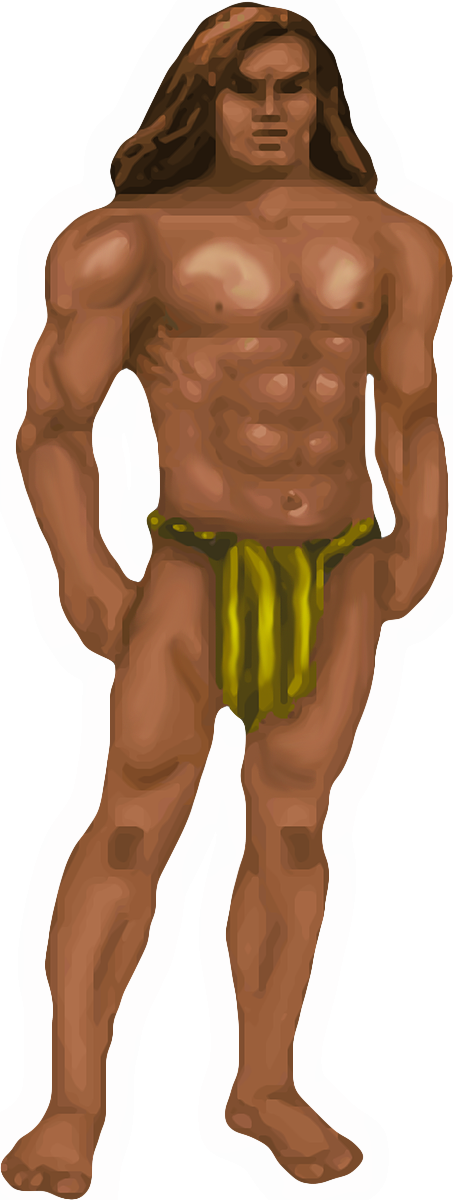
Here's a more visual explanation of how to avoid those pesky borders sampled by linear filtering. Let's start with a processed version of this fellow so you can see all the elements I'm trying to discuss clearly.
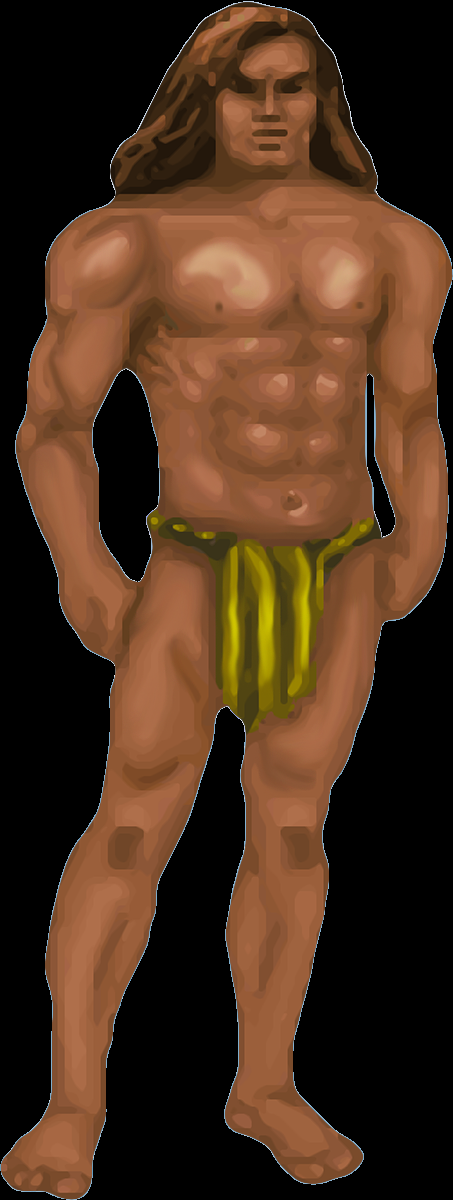
- 357_11-0-alpha-fringe.png (365.16 KiB) Viewed 4923 times
There are a total of three important elements in the above screenshot:
- The colour RGB components we want to see (the sprite itself). These have an Alpha of 1.
- The colour RGB components we can't see (the fringe created by feathering). These have an Alpha of less than 1 down to 0. I have inverted these colours and removed alpha transparency so you can see them clearly as a blue-ish outline.
- The transparent RGBA components which are fully clear (all RGBA components are 0). These are represented in black above, although in the real image they are completely clear. Just remember they have an RGB of 0,0,0 (black) and an A of 0. This will be important in a moment.
When linear filtering samples a texture, it does not consider the alpha values at all. It only considers the RGB values. Depending on sample rate, linear filtering is likely to sample from adjacent pixels. This is fine for the thin feathered border (shown in blue) but at low enough sample rates, linear filtering will
also sample in the black RGB values from the nearby clear pixels. This can create a coloured/black/white/gray/etc. border depending on what the transparent pixels have in their RGB values and how the filter mixes everything together. Regardless, the outcome is a border you don't want to see. We need to get these clear pixels away from the sprite!
Now, you can work around this by changing the sample rate (as you did by changing dimensions or working with supersampling), but this doesn't solve the underlying issue. Someone is going to see an ugly border around the sprites sooner or later.
To fix this, we need a much thicker band of coloured alpha pixels around the sprite. This is normally done with dilation, but you can use gaussian blurs or any number of techniques. Dilation will generally give you the best result though. Here's an example of the same fellow creating a border with gaussian blur of the source image in a layer behind. I've kept the negative colours so you can see them clearly. Notice how much larger the surrounding fringe area is compared to the first image.
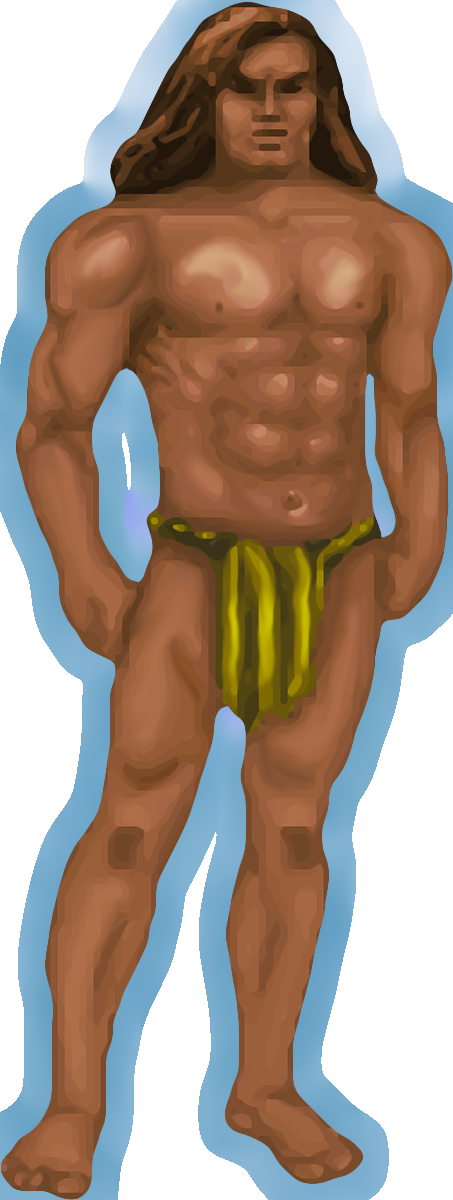
- 357_11-0-blur-negative.png (475.75 KiB) Viewed 4923 times
If we were to see these alpha pixels as their actual colours (without transparency), he looks like below. This is the concept the dilation article I linked earlier was demonstrating.
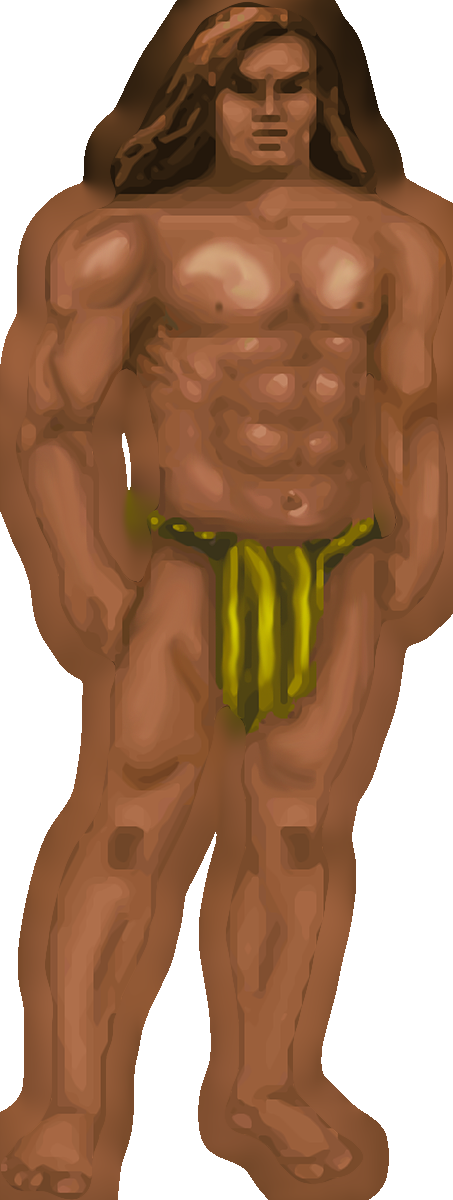
- 357_11-0-blur-color.png (460.68 KiB) Viewed 4923 times
And in the final screenshot, I've changed alpha of the blur to an almost-transparent value (alpha of 2) to ensure my paint package did not discard the values. You can just barely see them in this final example.
- 357_11-0-blur-color-alpha.png (475.24 KiB) Viewed 4923 times
When running this image with linear filtering and cutout transparency, the GPU has a nice large border to sample colour from around the sprite, and is unlikely to sample from the surrounding areas with an RGB value of 0.
You have much better tools and more knowledge of digital painting than I do, so can likely find a better way to integrate this idea into your pipeline. See if you can find a dilation plugin for your paint package for best results.
The key concept is that empty parts of the image should not be adjacent to colour parts as linear filtering can blend those parts together.
I hope that helps explain the problem more visually and offers a starting point to create assets with dilated alpha fringes which inhibit the sampling of black borders around billboard sprites.
Please let me know if anything needs further detail.